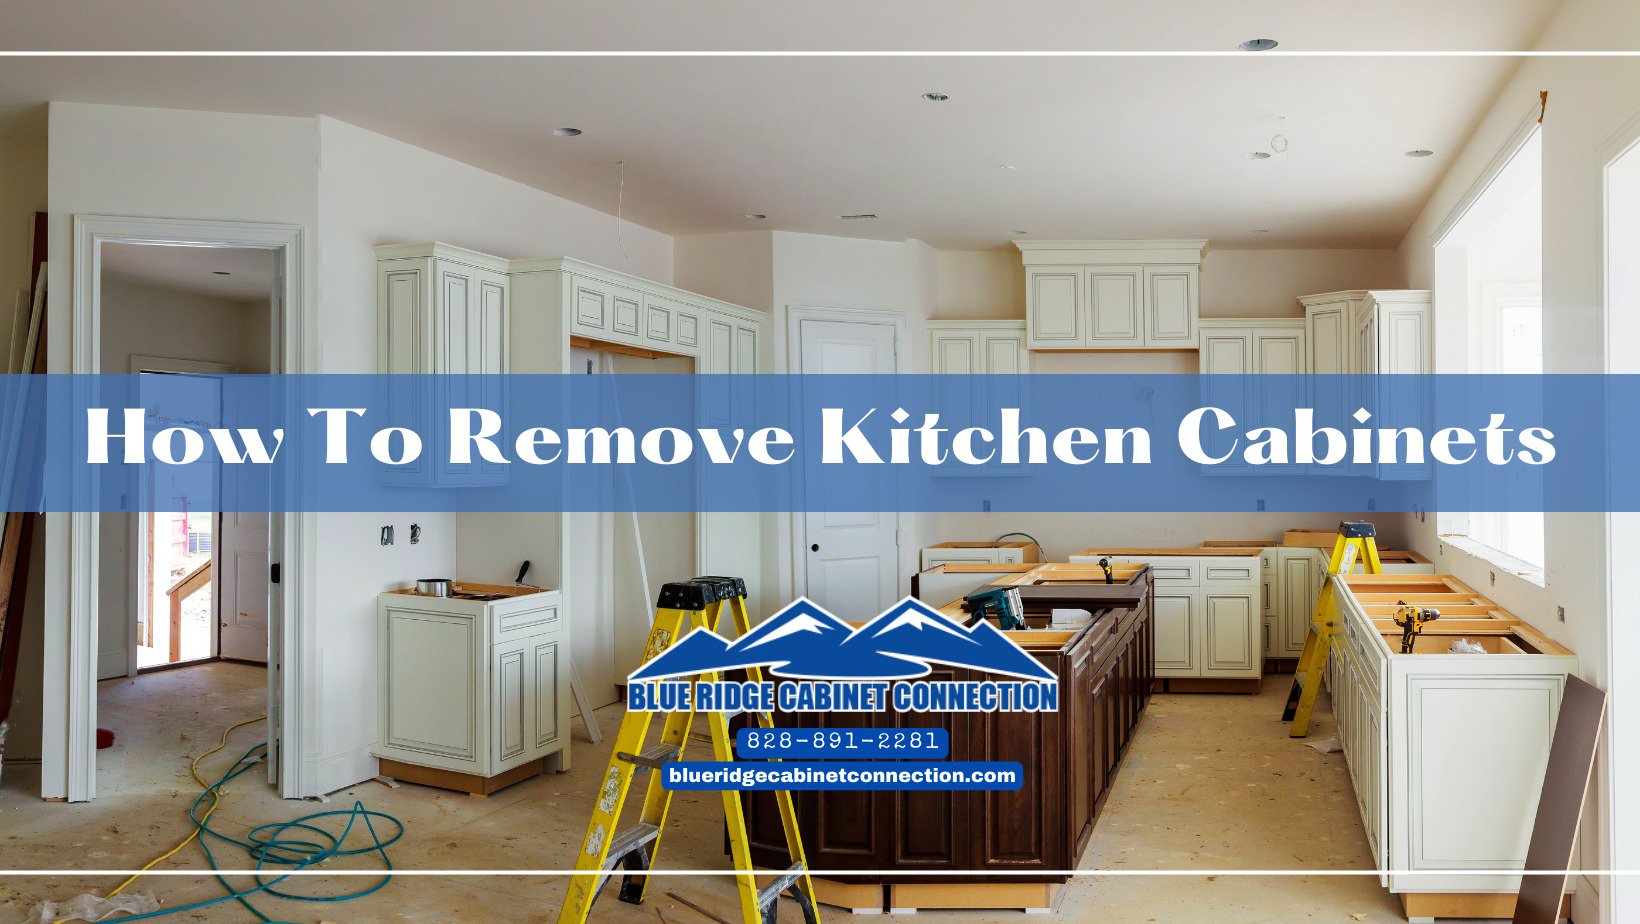
How To Remove Kitchen Cabinets
Are you planning a renovation for your kitchen? If Yes, install new kitchen cabinets, you must know how to remove the existing ones. This is something like having a blank canvas ready for creating a new design.
Before you begin designing your kitchen remodel, you can follow our easily doable DIY guide for removing old kitchen cabinets yourself. This whole process might sound like a daunting project, but this is possible.
If you still feel you need an assistant to remove the kitchen cabinets, give us a call for the assistant. Our guide will make sure that your kitchen cabinetry is removed safely. Blue Ridge Cabinet Connection

Once you have removed all your cabinetry safely, you refurbish them if needed or store them to reuse in the store room, garage, or laundry room. Cover them nicely and store them in a safe place so that they can stay in good condition for reuse or refurbishing. While following the removal process, make sure you take care and not damage them.
Easy To Follow Doable DIY Kitchen Cabinetry Removal Process
Here’s how to remove kitchen cabinets without damaging them.
To begin the process, you just need to have a free weekend and a toolkit ready. Get started by gathering the important tools needed to remove the cabinets. Most of these tools are lying in your basic toolbox at your home, so you don’t need to buy them.
The tools that you need are:

Pry bar, Gloves, Putty knives, Goggles, Utility knife, Tarps, Hammer, Spare 2x4s (for supporting needs), Drill, Step ladder, Screwdriver, Measuring Tape, Wrench, Reciprocating saw.
Important Things To Do:
Before working with the tools make sure you follow safety steps.
Always cover your eyes, nose, mouth, and hands to protect yourself while working.
Wear goggles, masks, gloves, and old & comfortable clothes.
Kitchen Cabinet Removal Preparation:
Step#1
The first thing first- take down all your kitchenware items from your cabinets. It’s important to remove everything safely that is stored in these cabinets such as cooking pots, baking dishes, plates, crockery, cutlery, food items, glassware, baking or other equipment, etc. So that these items don’t break while removing your kitchen cabinets.
Step#2
The next step is to shut off the water supply line to the kitchen sink, refrigerator’s ice maker, and dishwasher, and not the whole house's water supply.
Now step by step disconnect all the utilities in the kitchen.
Step#3
Cut off the electricity to the kitchen at the breaker box. Disconnect the garbage disposal, built-in dishwasher, electric stove, and outlets in the backsplash.
Step#4
Turn down the gas line to the gas oven or stove with a wrench. Remove the kitchen appliances, toe-kicks, molding on the walls, and base cabinets. Remove the microwave, any fixtures such as paper towel holder, spice rake, under-counter lights, and any small wooden outlets on the side wall.
Step#5
Last but not the least, you need to cover all the electrical appliances that are not in use. Cover the floor and the countertop with tarps or protective layers.
Step#6
Now, gather your tools and supplies.
After you have taken away everything out of the cabinets and drawers, get ready to unscrew them.
Detach Wall or Upper Cabinets:
Step#1
The foremost thing you do is to unscrew the door hinges of the wall kitchen cabinets. The doors are attached with screws through their hinges.
You can safely find these hinges and use the screwdriver or drill to remove the screws by simply opening the doors.


Step#2
You need to unscrew them while someone can hold the weight of the cabinet doors. Otherwise, you can also use counter support, or get wooden blocks or logs.

These logs can help you from crashing cabinets on the counter. When unscrewing the hinge screws on the side of the cabinet, let them attach to the door.
Cut 2×4 pieces of equal size of logs, by measuring the distance between the lower part of the cabinet area and the counter. Place these support blocks one at each corner of the cabinets to be removed and at the middle of the counter.
Step#3
Fill the gaps in the cabinets by inserting these boards to support the cabinets. Now cover the counter with furniture pads.
Step#4
Further, if you find cove molding around the wall, remove it by using a small pry bar.
Cut through caulking between the sides and bottom of the cabinets that meet the wall. Use a utility knife to pull them away from the wall, so that there is no damage to the wall.
Step#5
Continue to unscrew each cabinet unit from the back or where these cabinets are attached to the wall.
If you are using a screwdriver for detaching the wall cabinets, then turn it counterclockwise to remove them.
Step#6
Remove all the screws that connect the cabinets with each unit to its adjacent sides.
Now, try to lower the cabinet units first to the countertop and then slide them off to the floor with the help of an assistant.

Remove Base Kitchen Cabinets:
Step#1
Once you have removed all the wall cabinets, you can now inspect how to remove the base cabinets. Usually, the process starts with removing the countertop and removing the lower cabinet units.
Step#2
To begin with, the base cabinets have many drawers so you need to empty the drawers first.
These drawers are of different types, such as free-rolling drawers which can be easily pulled out. Others with a different mechanism can be pulled out by unscrewing the brackets or pressing a release tab on the side.
Pull the drawer out until it stops, then lift it up to remove it. Now, pull the cabinet out of its socket and slide the drawer to remove it. You can save the hardware if you plan to reuse or donate the cabinets that are in good condition.
Step#3
The next step is to remove the faucet and the sink from the kitchen. To safely remove the sink, cut through the caulking area around the sink with a putty knife. You can separate the sink from the countertop, then unscrew the sink, slowly lift the sink up and take it out.

Step#4
The base cabinets have screws in the front and rear corners on the underside of the counter. Next, you need to unscrew these screws from the countertop and lower the cabinet units.

Step#5
On there underside of the countertop you might find some brackets or nails to be removed. Unscrew the brackets and lift up the countertops away from the cabinet units by using a pry bar. Slowly lift up the counter to test if it lifts easily, if not you must have missed the screw.


Step#6
Some screws are hidden and are difficult to spot, so stick your head inside to easily unscrew them. Even if you miss one you won’t be able to remove the cabinet and this might damage the base cabinets when you try to pull them away.
Step#7
Uninstall the base cabinets by pulling out the nails and unscrewing the units from the walls. Slowly pull the cabinet units away from the wall with help of a pry bar. Continue working and repeat the procedure until you remove all the base cabinet units.

Follow all the steps to safely remove the cabinet units and remember to keep the loose cabinets aside in a safe place and cover them to reuse them in the future.
The guide is based on the video seen here, you can follow these tips;
Other Removing Tips.
Sometimes wall cabinets are too difficult to detach because these are attached with glue or nails. If no screws are used, you don’t have to unscrew them, rather pull them out with the required set of tools such as-
Use a pry bar to pull the cabinets away from the wall
Use a hammer to tap the pry bar in the space between the wall and the cabinet and then gently pull away
Use a wooden block between the pry bar and the wall to prevent wall damage.
To discard the debris of the removed cabinetry which is of no further use rent a dumpster. You can call for a rental dumpster such as a 10-yard dumpster. Depending on the kitchen size it can go up if you are discarding debris from other areas of your home.
About The Author

Related Posts

Closet Organization Ideas

Are Floating Shelves A Good Idea